Network Verification Instructions
Steps for Using Network Verification in HTML to EXE
Encryption Packaging Steps
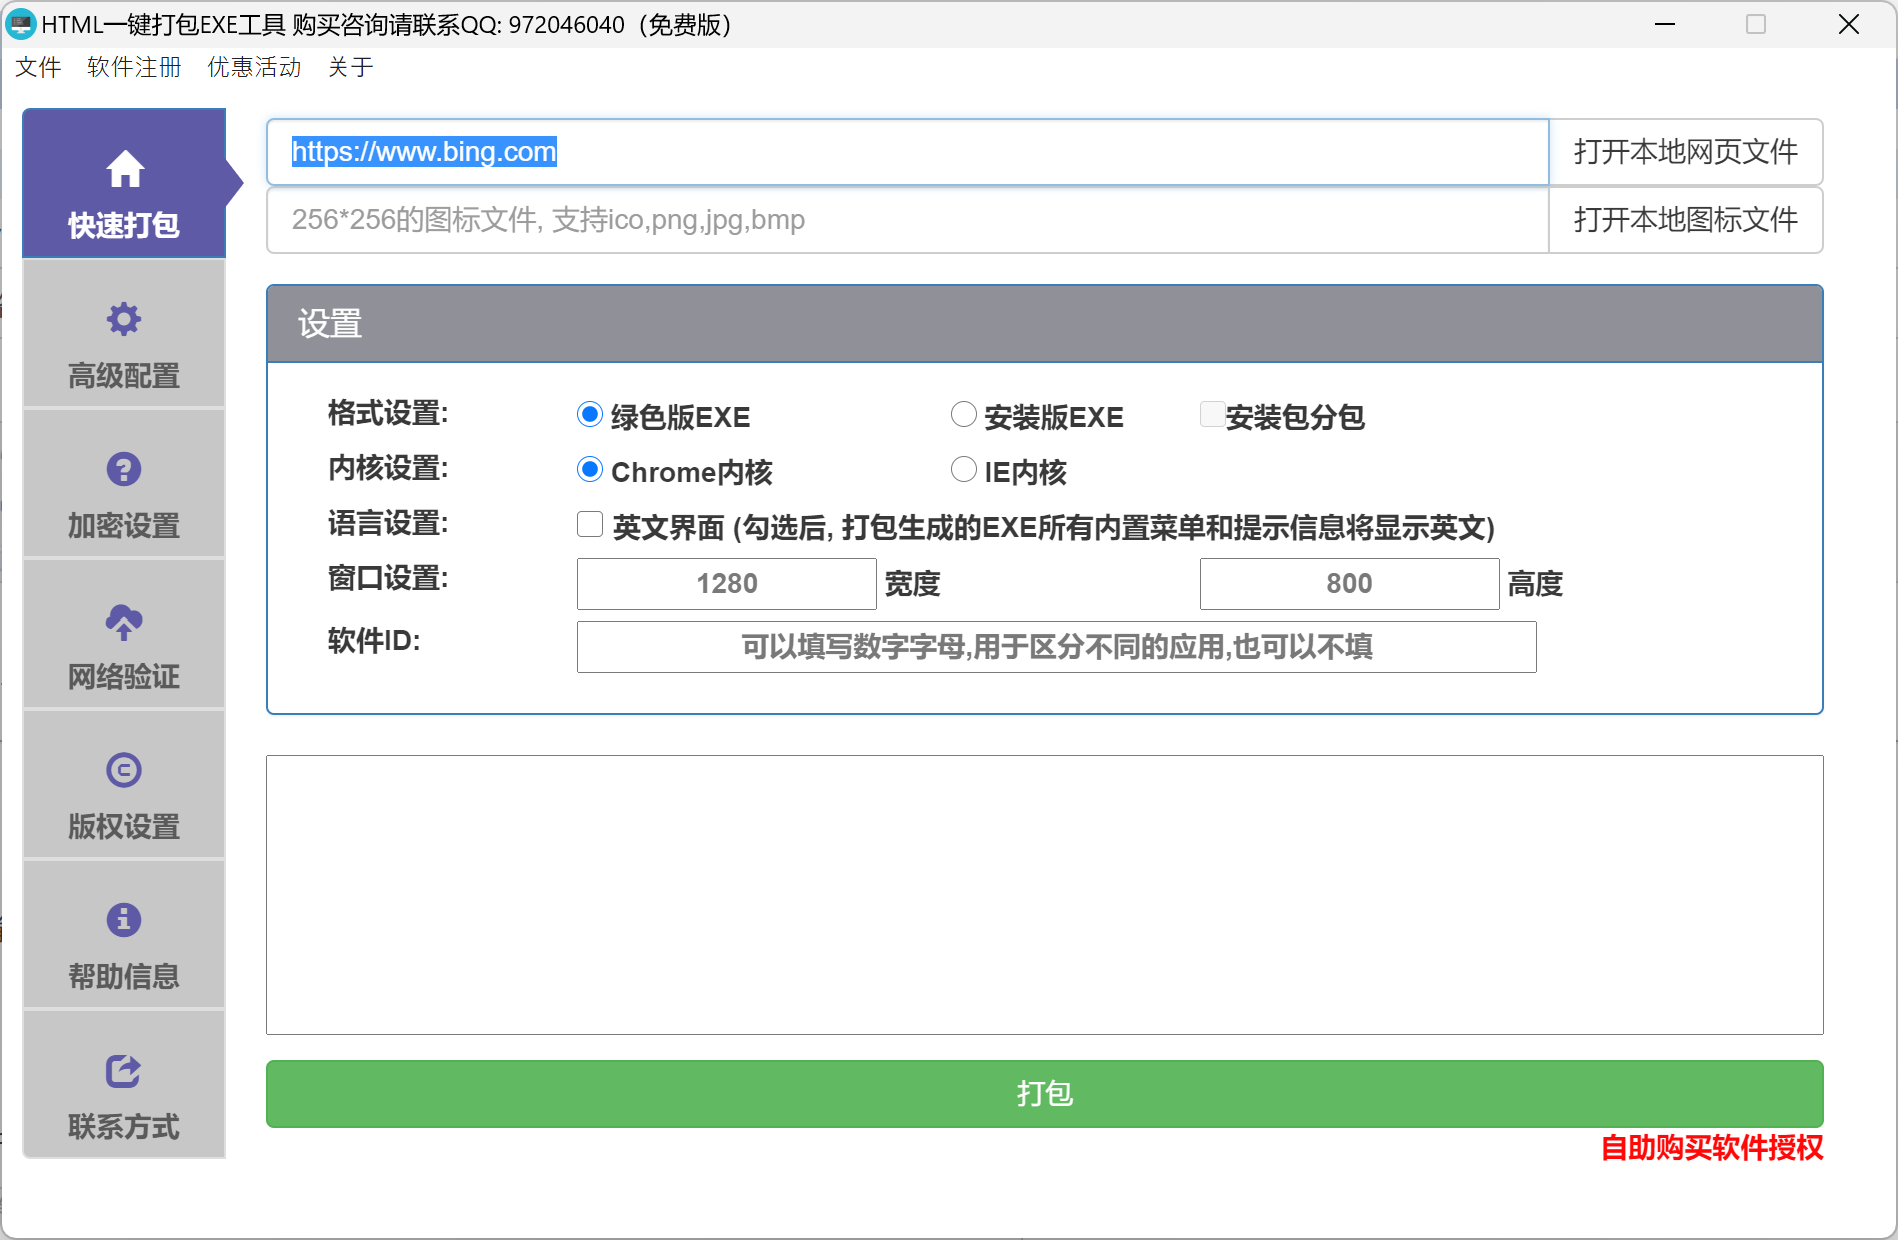
- First, open the software. After the software initialization is complete, enter the URL you want to package, for example, https://www.bing.com
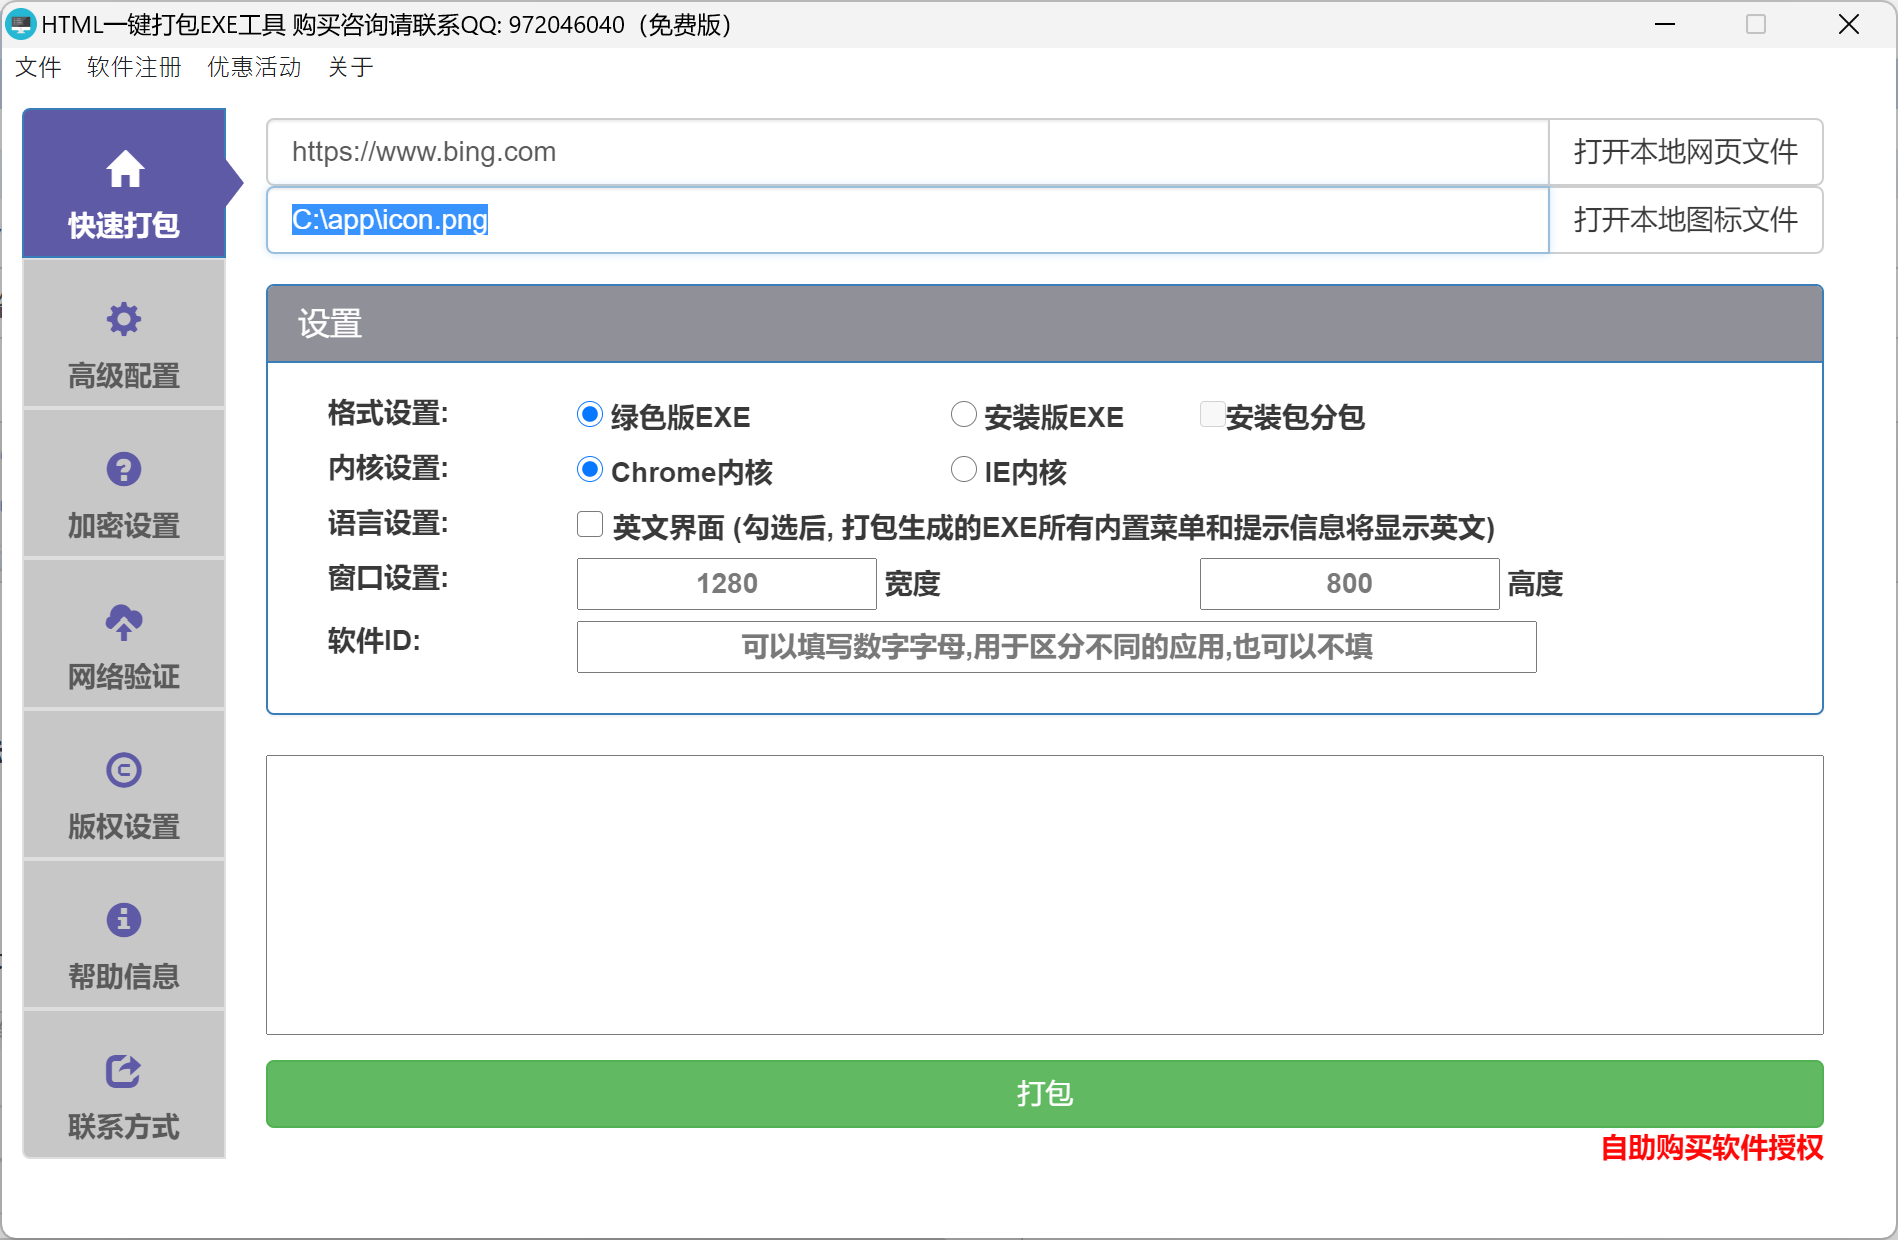
- (Optional Step) You can click the button Open Local Icon File to set the EXE icon, and you can also set the window size and other settings.
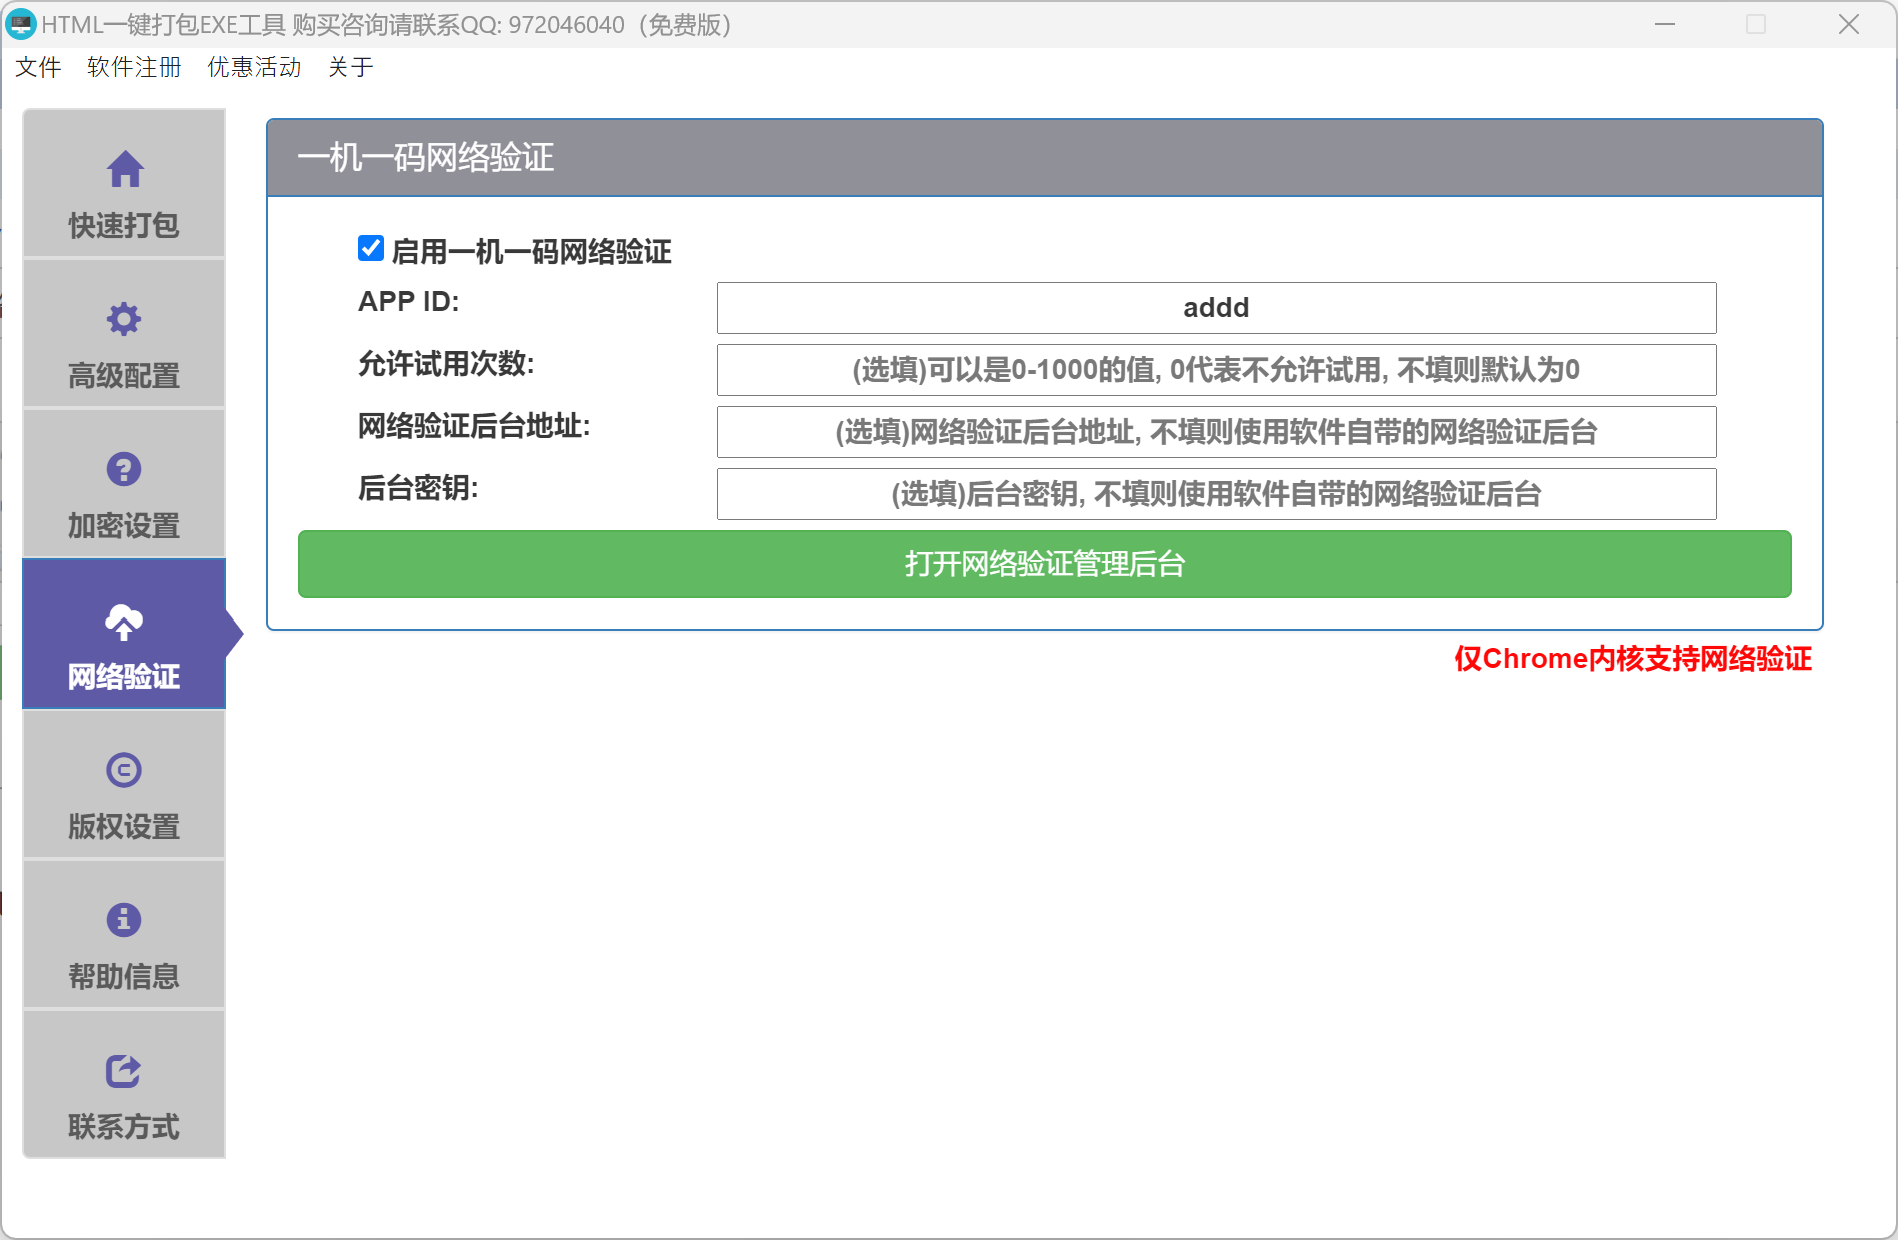
- Click the network verification button on the left, check the Enable One Machine One Code Network verification function, and you can set the APP ID. Here, just fill in "addd".
- Return to the homepage and click Start Packaging to generate an EXE file with network verification function.
Activation Code Generation Steps
- After the encryption packaging is complete, you can generate an activation code for backup. On the left side of the software interface, click Network Verification.

-
Click Open Network Verification Management Backend to enter the backend activation code management page.
-
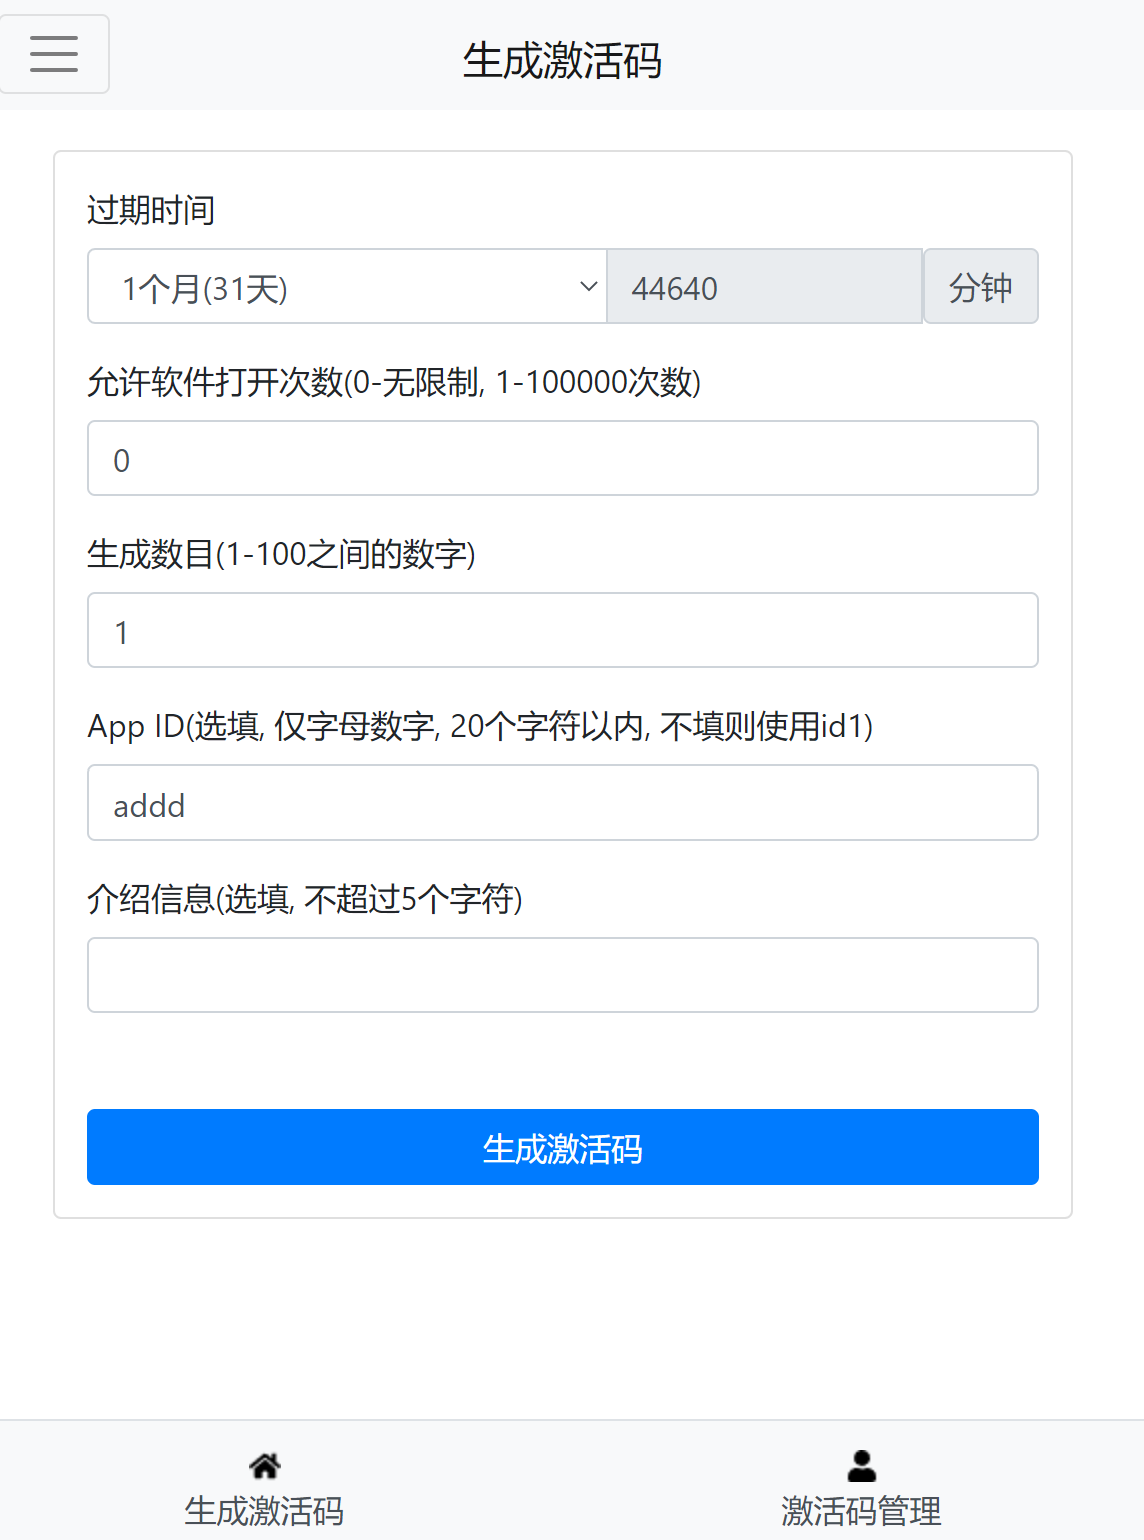
On the backend management page, enter the software ID (addd) used during packaging, and then click Generate Activation Code:
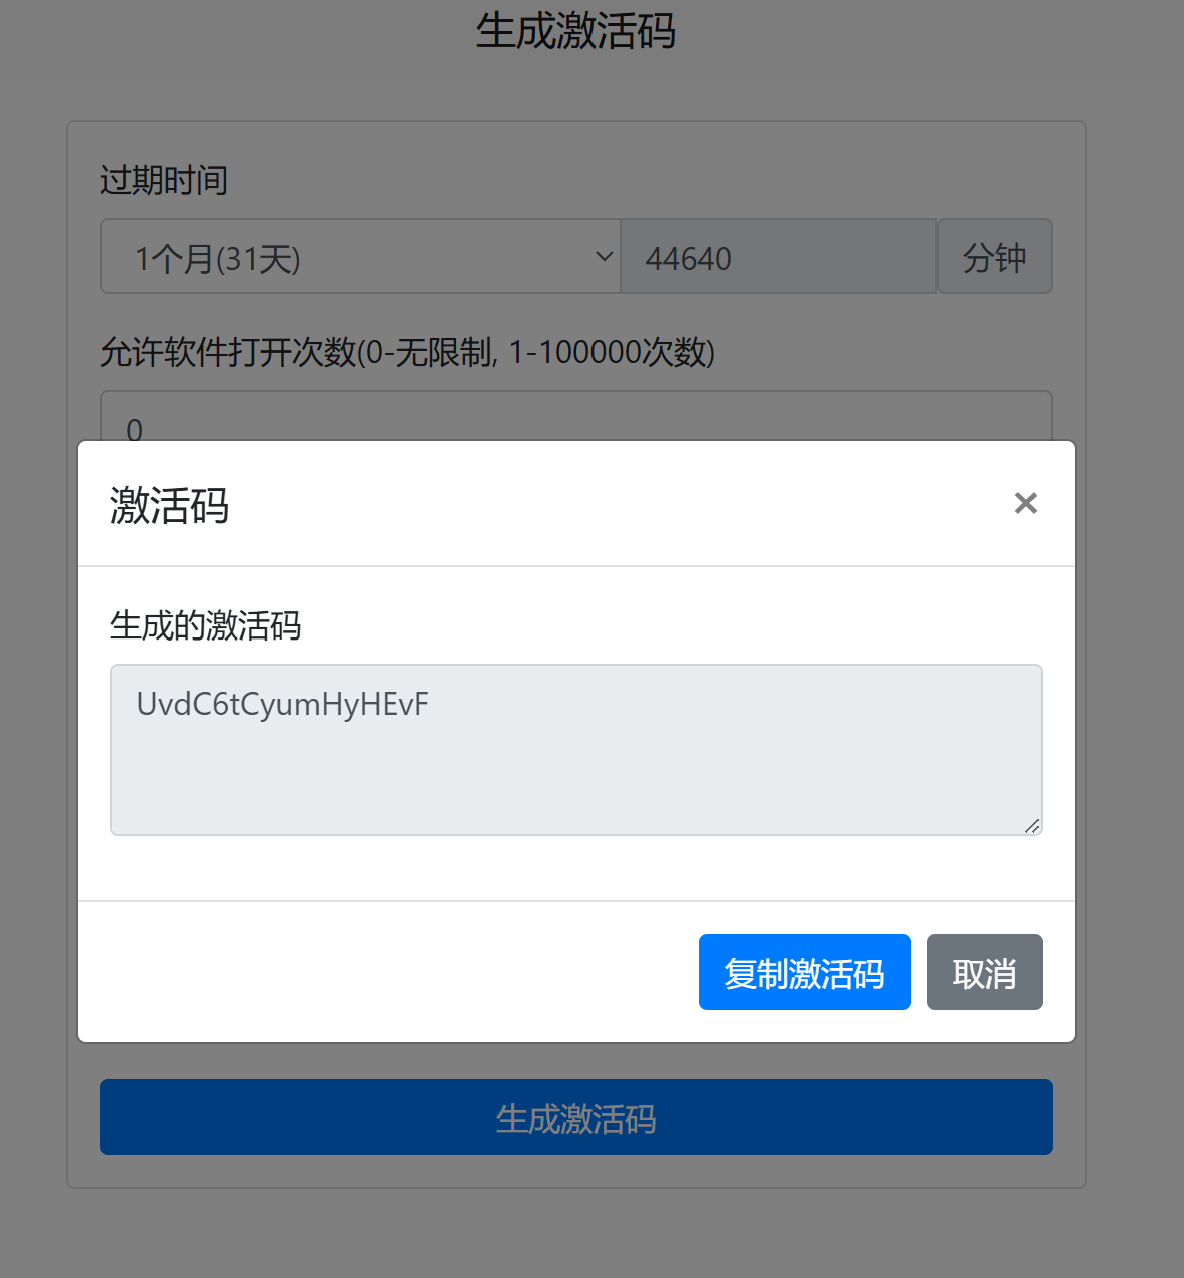
- After the activation code is successfully generated, we can save it for backup. When users need to activate the software, we can send them the generated activation code:
User Software Activation Steps
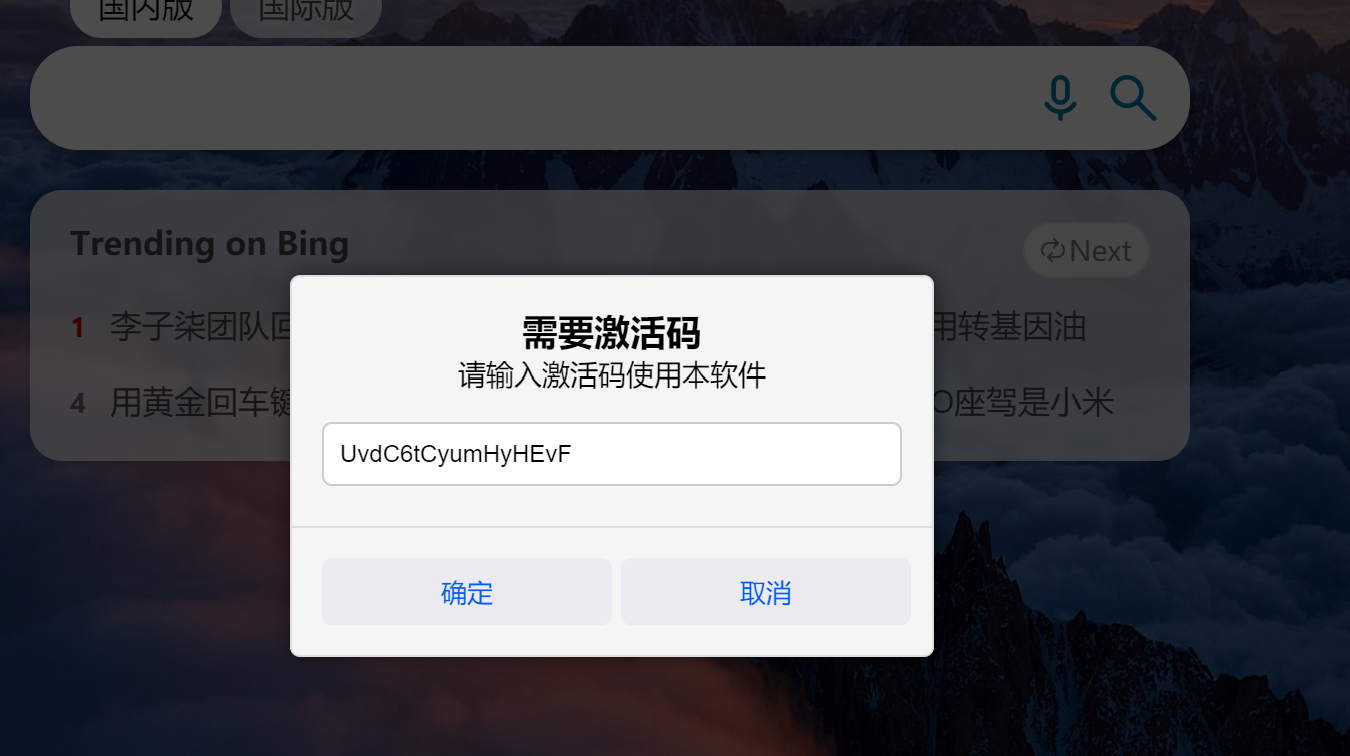
- When the user opens the encrypted software for the first time, the following prompt window will pop up:
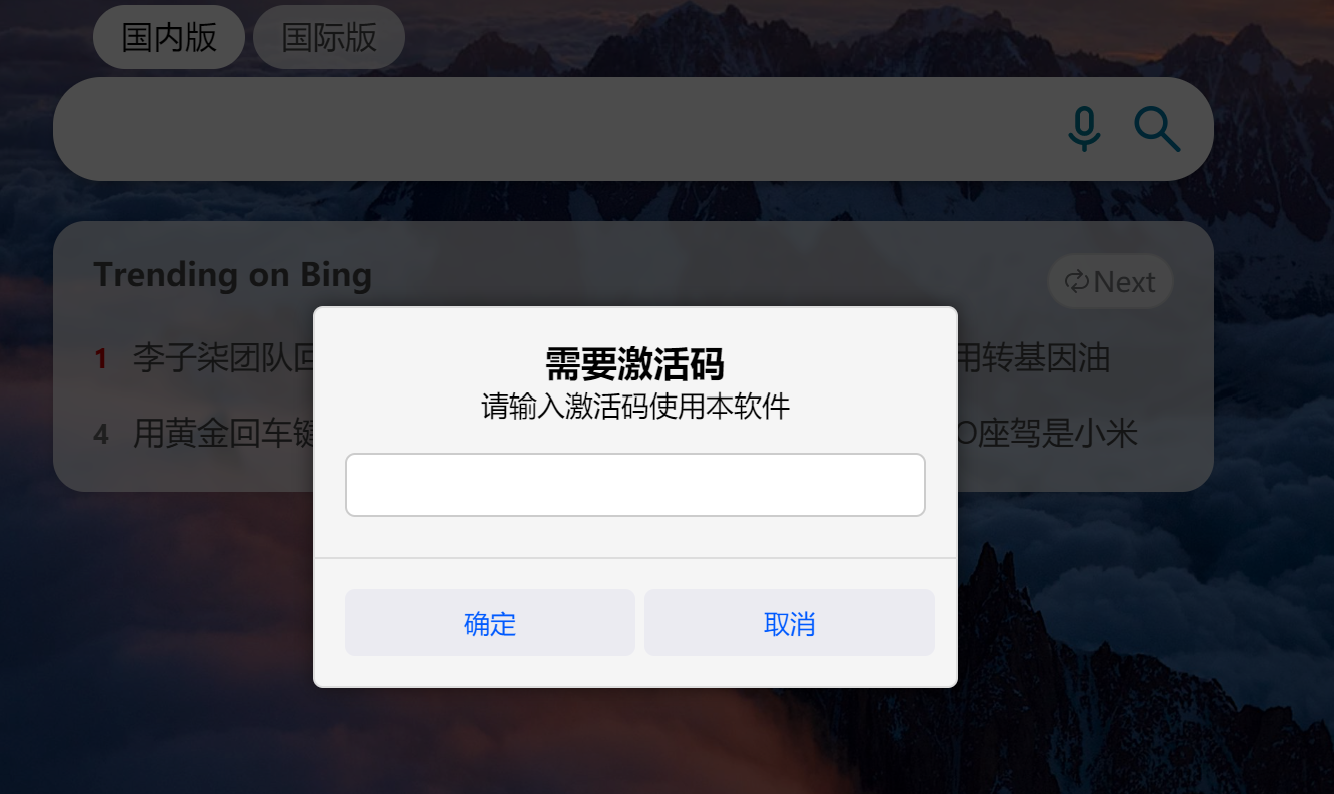
- Enter the activation code we just generated and click Confirm to enter the software normally:
